How to take a before and after photo?
How to tell if your face care products are really working?
Sometimes, when we look at ourselves in the mirror, we only see what we want to see. Other times, we might miss something altogether. That's why one of the best ways to see how our face care products are working is to just collect some documentary evidence, and one of the easiest ways to do this is with a Before / After photo.
Just take a photo of your face either in full or in part before you start using your product. Then take a photo after consistent use when you begin to notice visible changes or after set amounts of time. Use the same plain background and good lighting for both photos.
This is the best practice for doing a before and after:
HOW TO TAKE A BEFORE & AFTER PHOTO
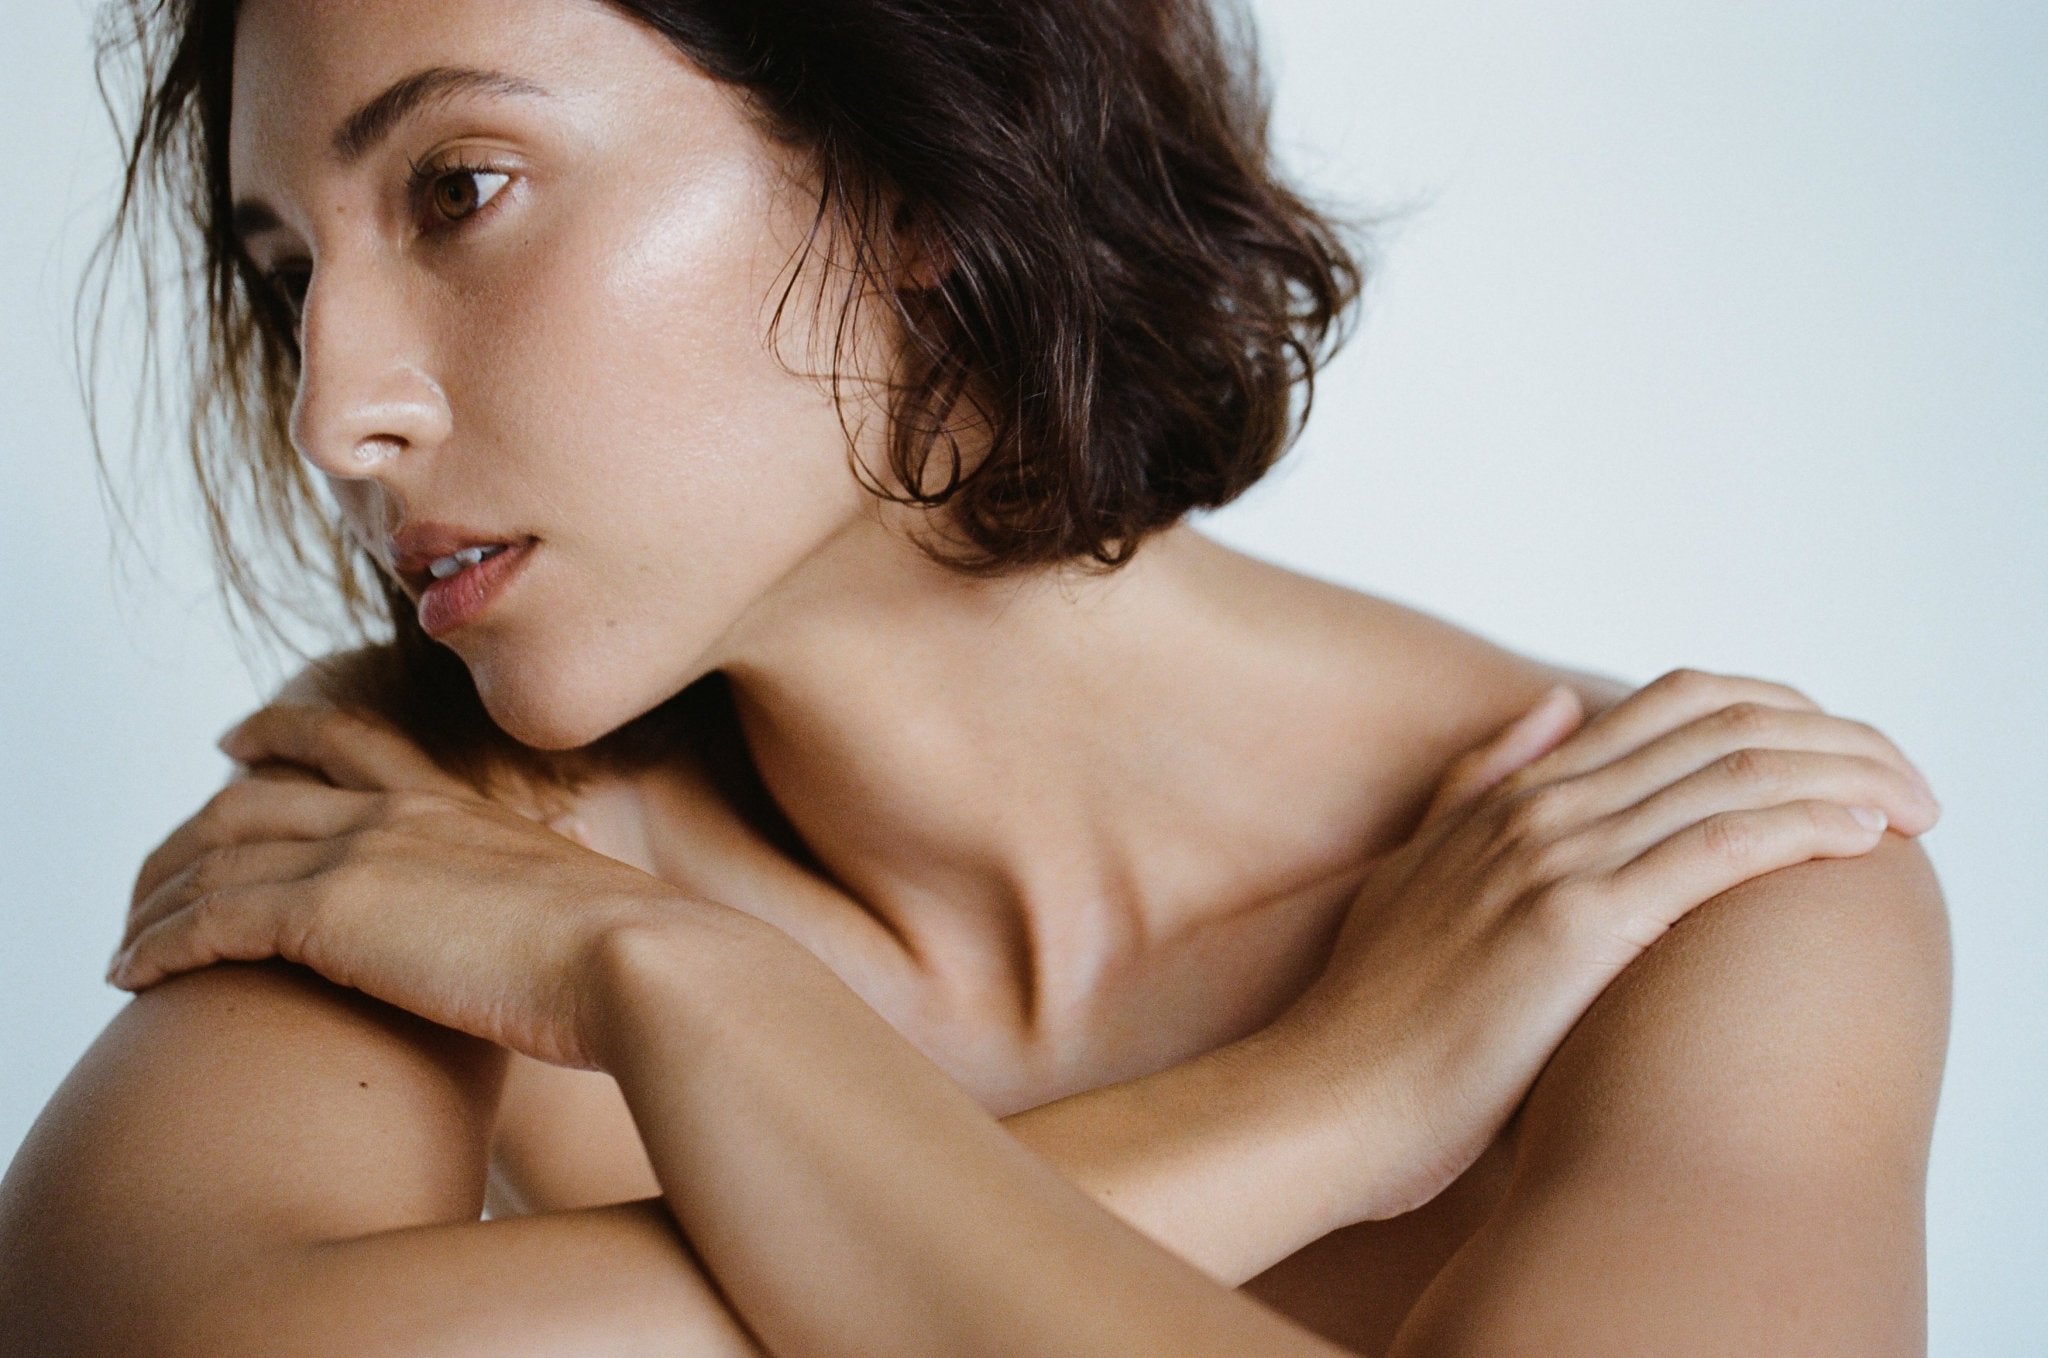
Shot Style #1
- 1 Before Photo
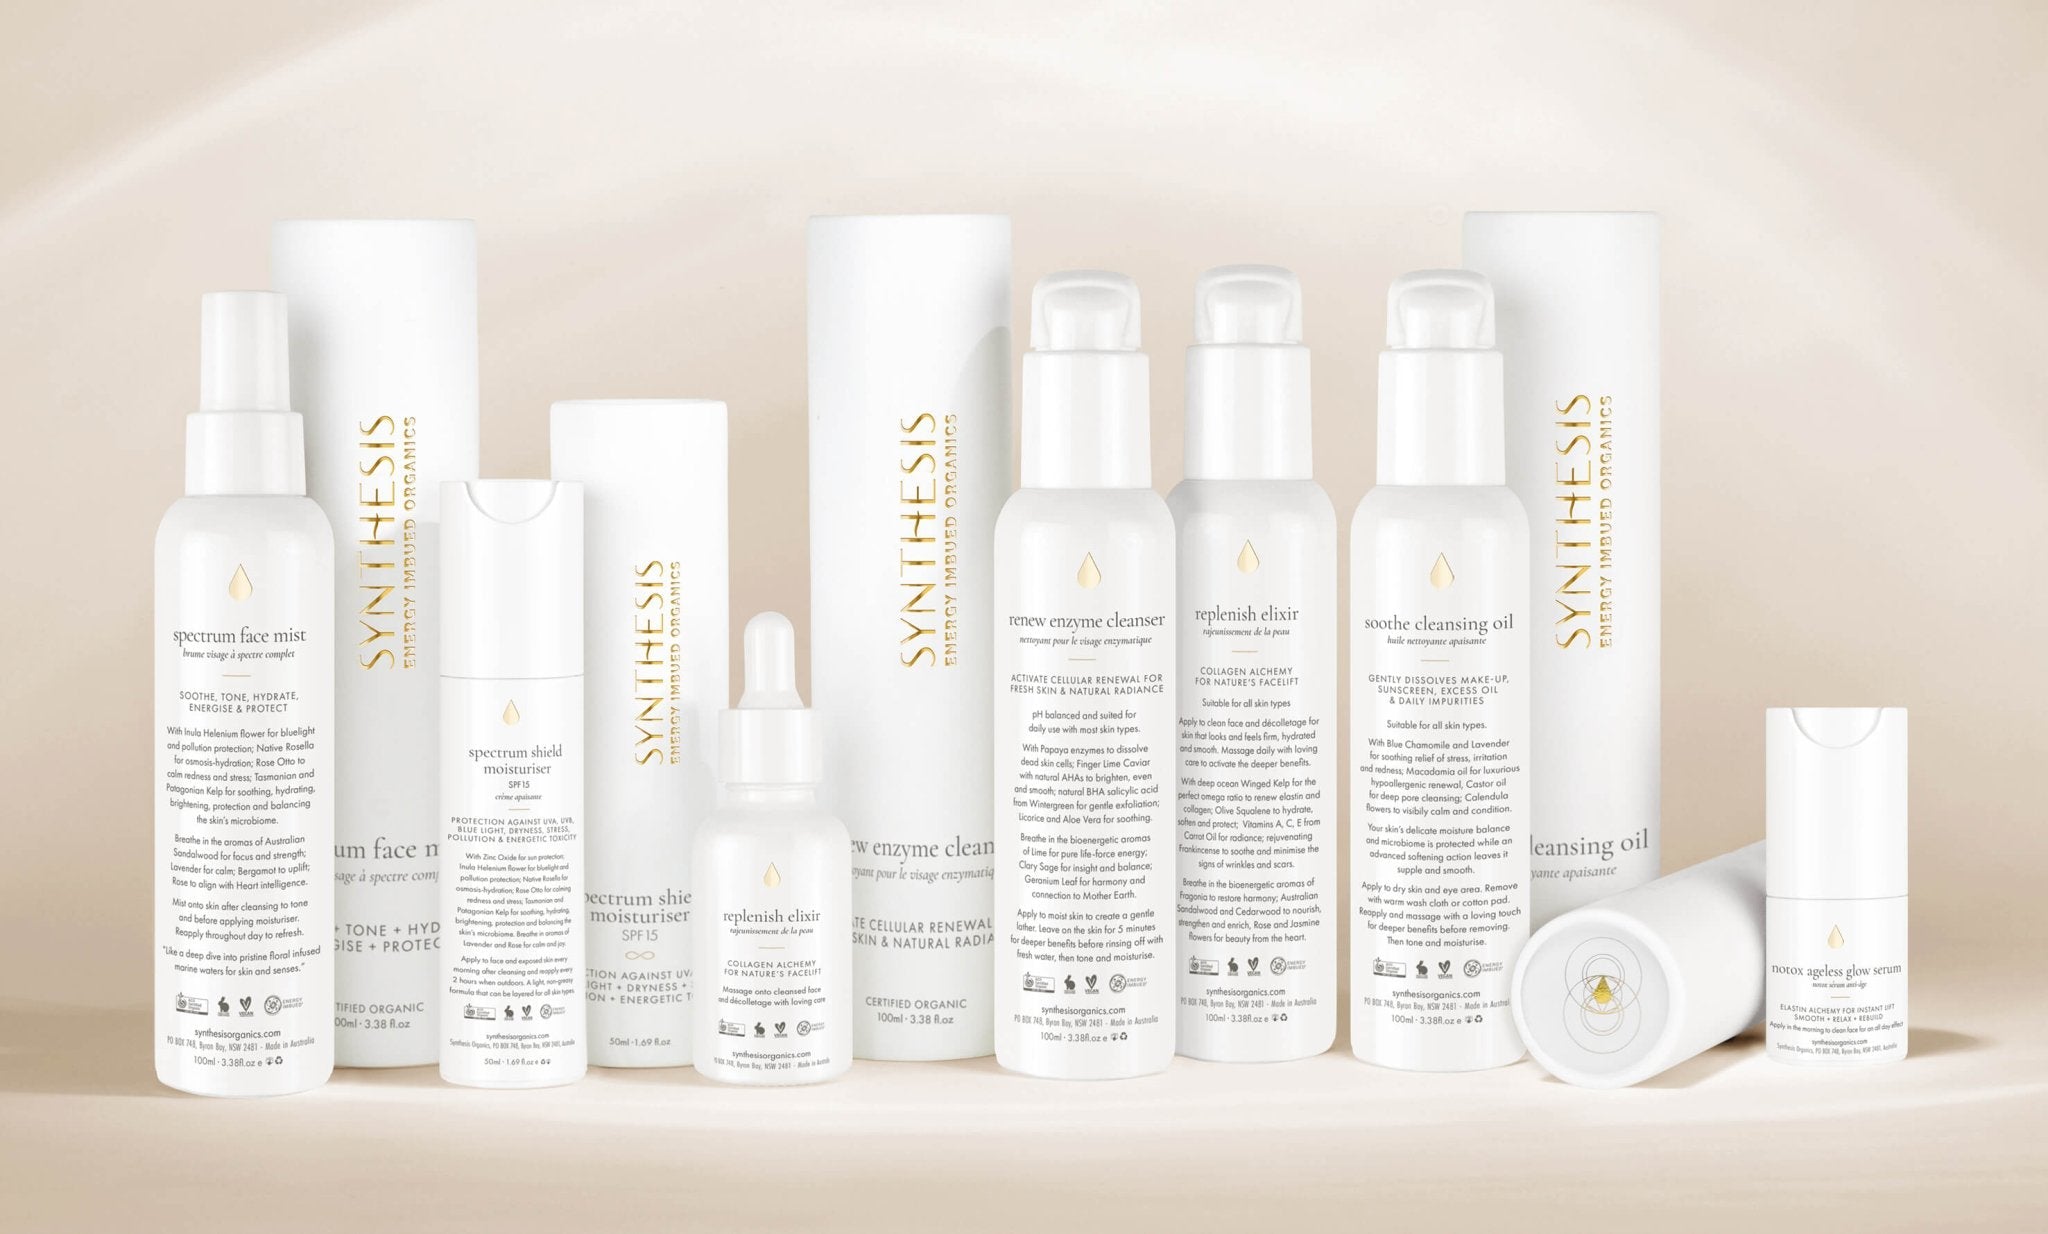
- 1 After Photo taken 30 minutes after application (only for Notox Ageless Glow Serum)
- 1 After Photo taken 1 week after consistent use as instructed
- 1 After Photo taken 1 month after consistent use as instructed
- 1 After Photo taken 3 months after consistent use as instructed

- Frame like the above with the face at a slight angle.
- Don’t get too close if you're using a phone camera or the image will distort. Use the zoom function with restraint in order to get the right framing and clarity, but don’t zoom in so far that the image gets pixelated.
- Keep the same set-up and lighting for both images.
- Use natural or available light. It's important to see real skin, real transformation.
CLOSE-UP PHOTOS
Shot Style #2 - Zoom in on a specific area e.g. Forehead and Crow's feet
- 1 Before Photo of Forehead and Crow’s Feet
- 1 After Photo of each taken 30 minutes after application (Only for Notox Ageless Glow Serum)
- 1 After Photo taken 1 week after consistent use as instructed
- 1 After Photo taken 1 month after consistent use as instructed
- 1 After Photo taken 3 months after consistent as instructed

- Frame like the above. Getting a close/zoomed shot of forehead, and one of the side eye profile to see the Crow’s Feet.
- Again, don’t get too close with phone camera or image will distort. Use the zoom function with restraint in order to get the right framing and clarity, but don’t zoom in so far that the image gets pixelated.
- Keep the same set-up and lighting for both images as far as that’s possible.
- Use natural or available light. It's important to see real skin, real transformation.
We would love to see your transformation, so if you share your Before / After photo with us by leaving a review on our website, you will receive 500 Gold Drops to redeem on your next order.

Leave a comment
This site is protected by hCaptcha and the hCaptcha Privacy Policy and Terms of Service apply.